Glossary
Business Glossary lets users define a list of business Terms that can be used to label different cataloged objects in the application. Terms can be organized into different glossaries and with Relations between Terms.
The Glossary view can be accessed on the Catalog page under the Glossary tab.
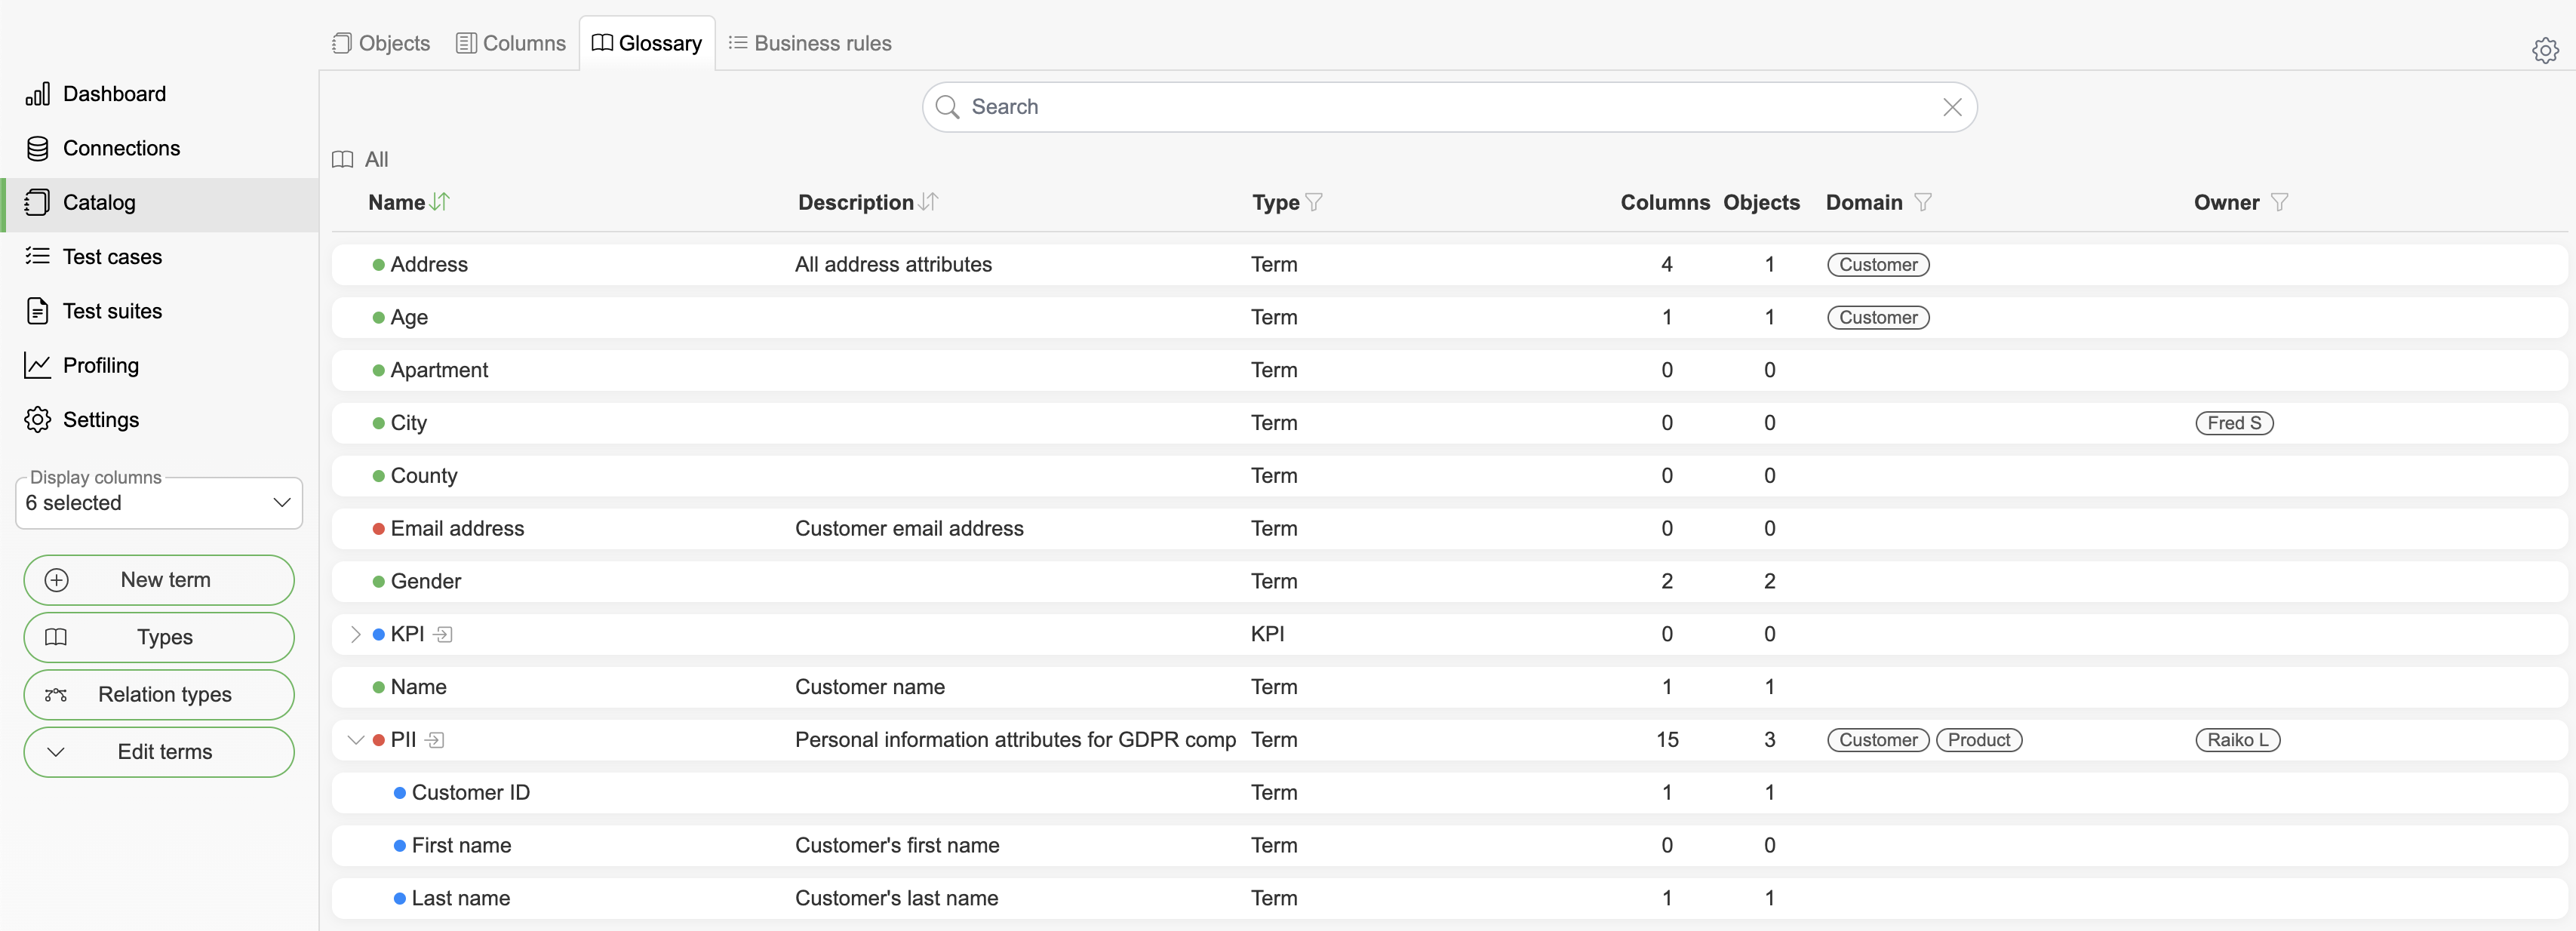
The term list shows the Name, Glossary, Description, Type, Attributes and Objects columns plus a column for every term custom field. The visible columns and their order can be customized from the table settings in the table header. Applied filters can be cleared in one click, restored from the filter history, or shared with other users via a copied link.
The Glossary column and the custom field columns can be filtered but not sorted. Sorting by Attributes or Objects is possible but warns that it may take longer.
Create a Term
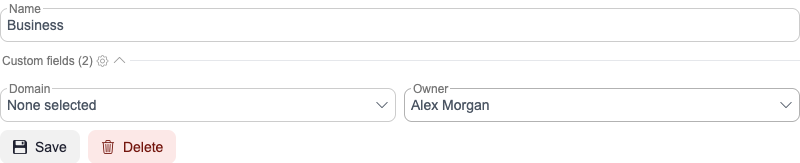
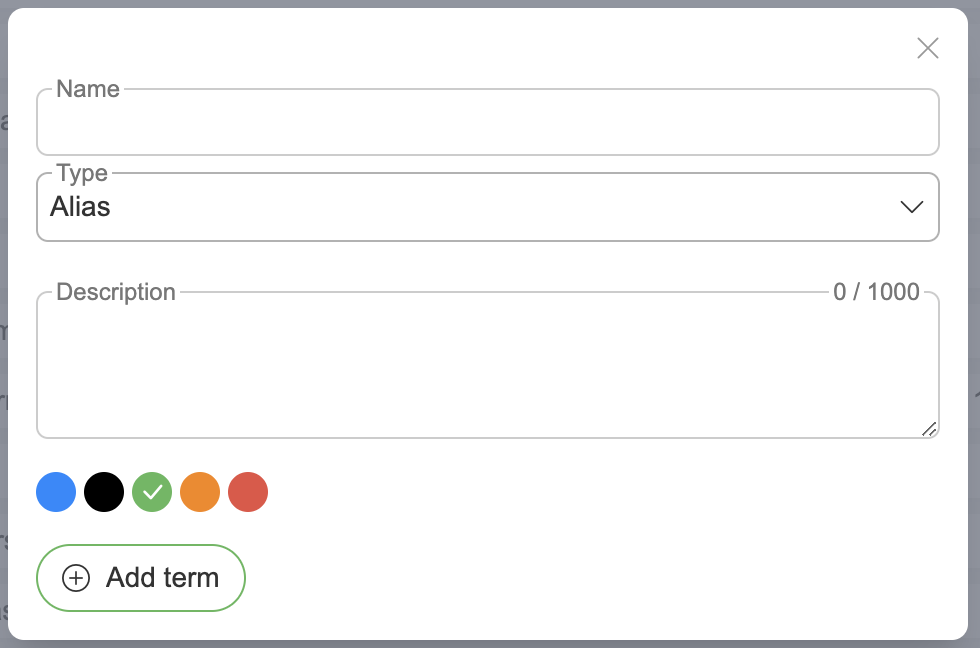
The "New term" dialog is opened from the toolbar above the term list. Terms have a name, color, glossary, type, description. By default terms have two custom fields: domain and owner. The description supports @-mentions of other terms.
When a new term is created while inside a term folder, a Contained in relation to the current folder is added automatically, and the currently selected glossary is pre-filled. After saving, the new term's detailed view opens.
View Term's detailed info
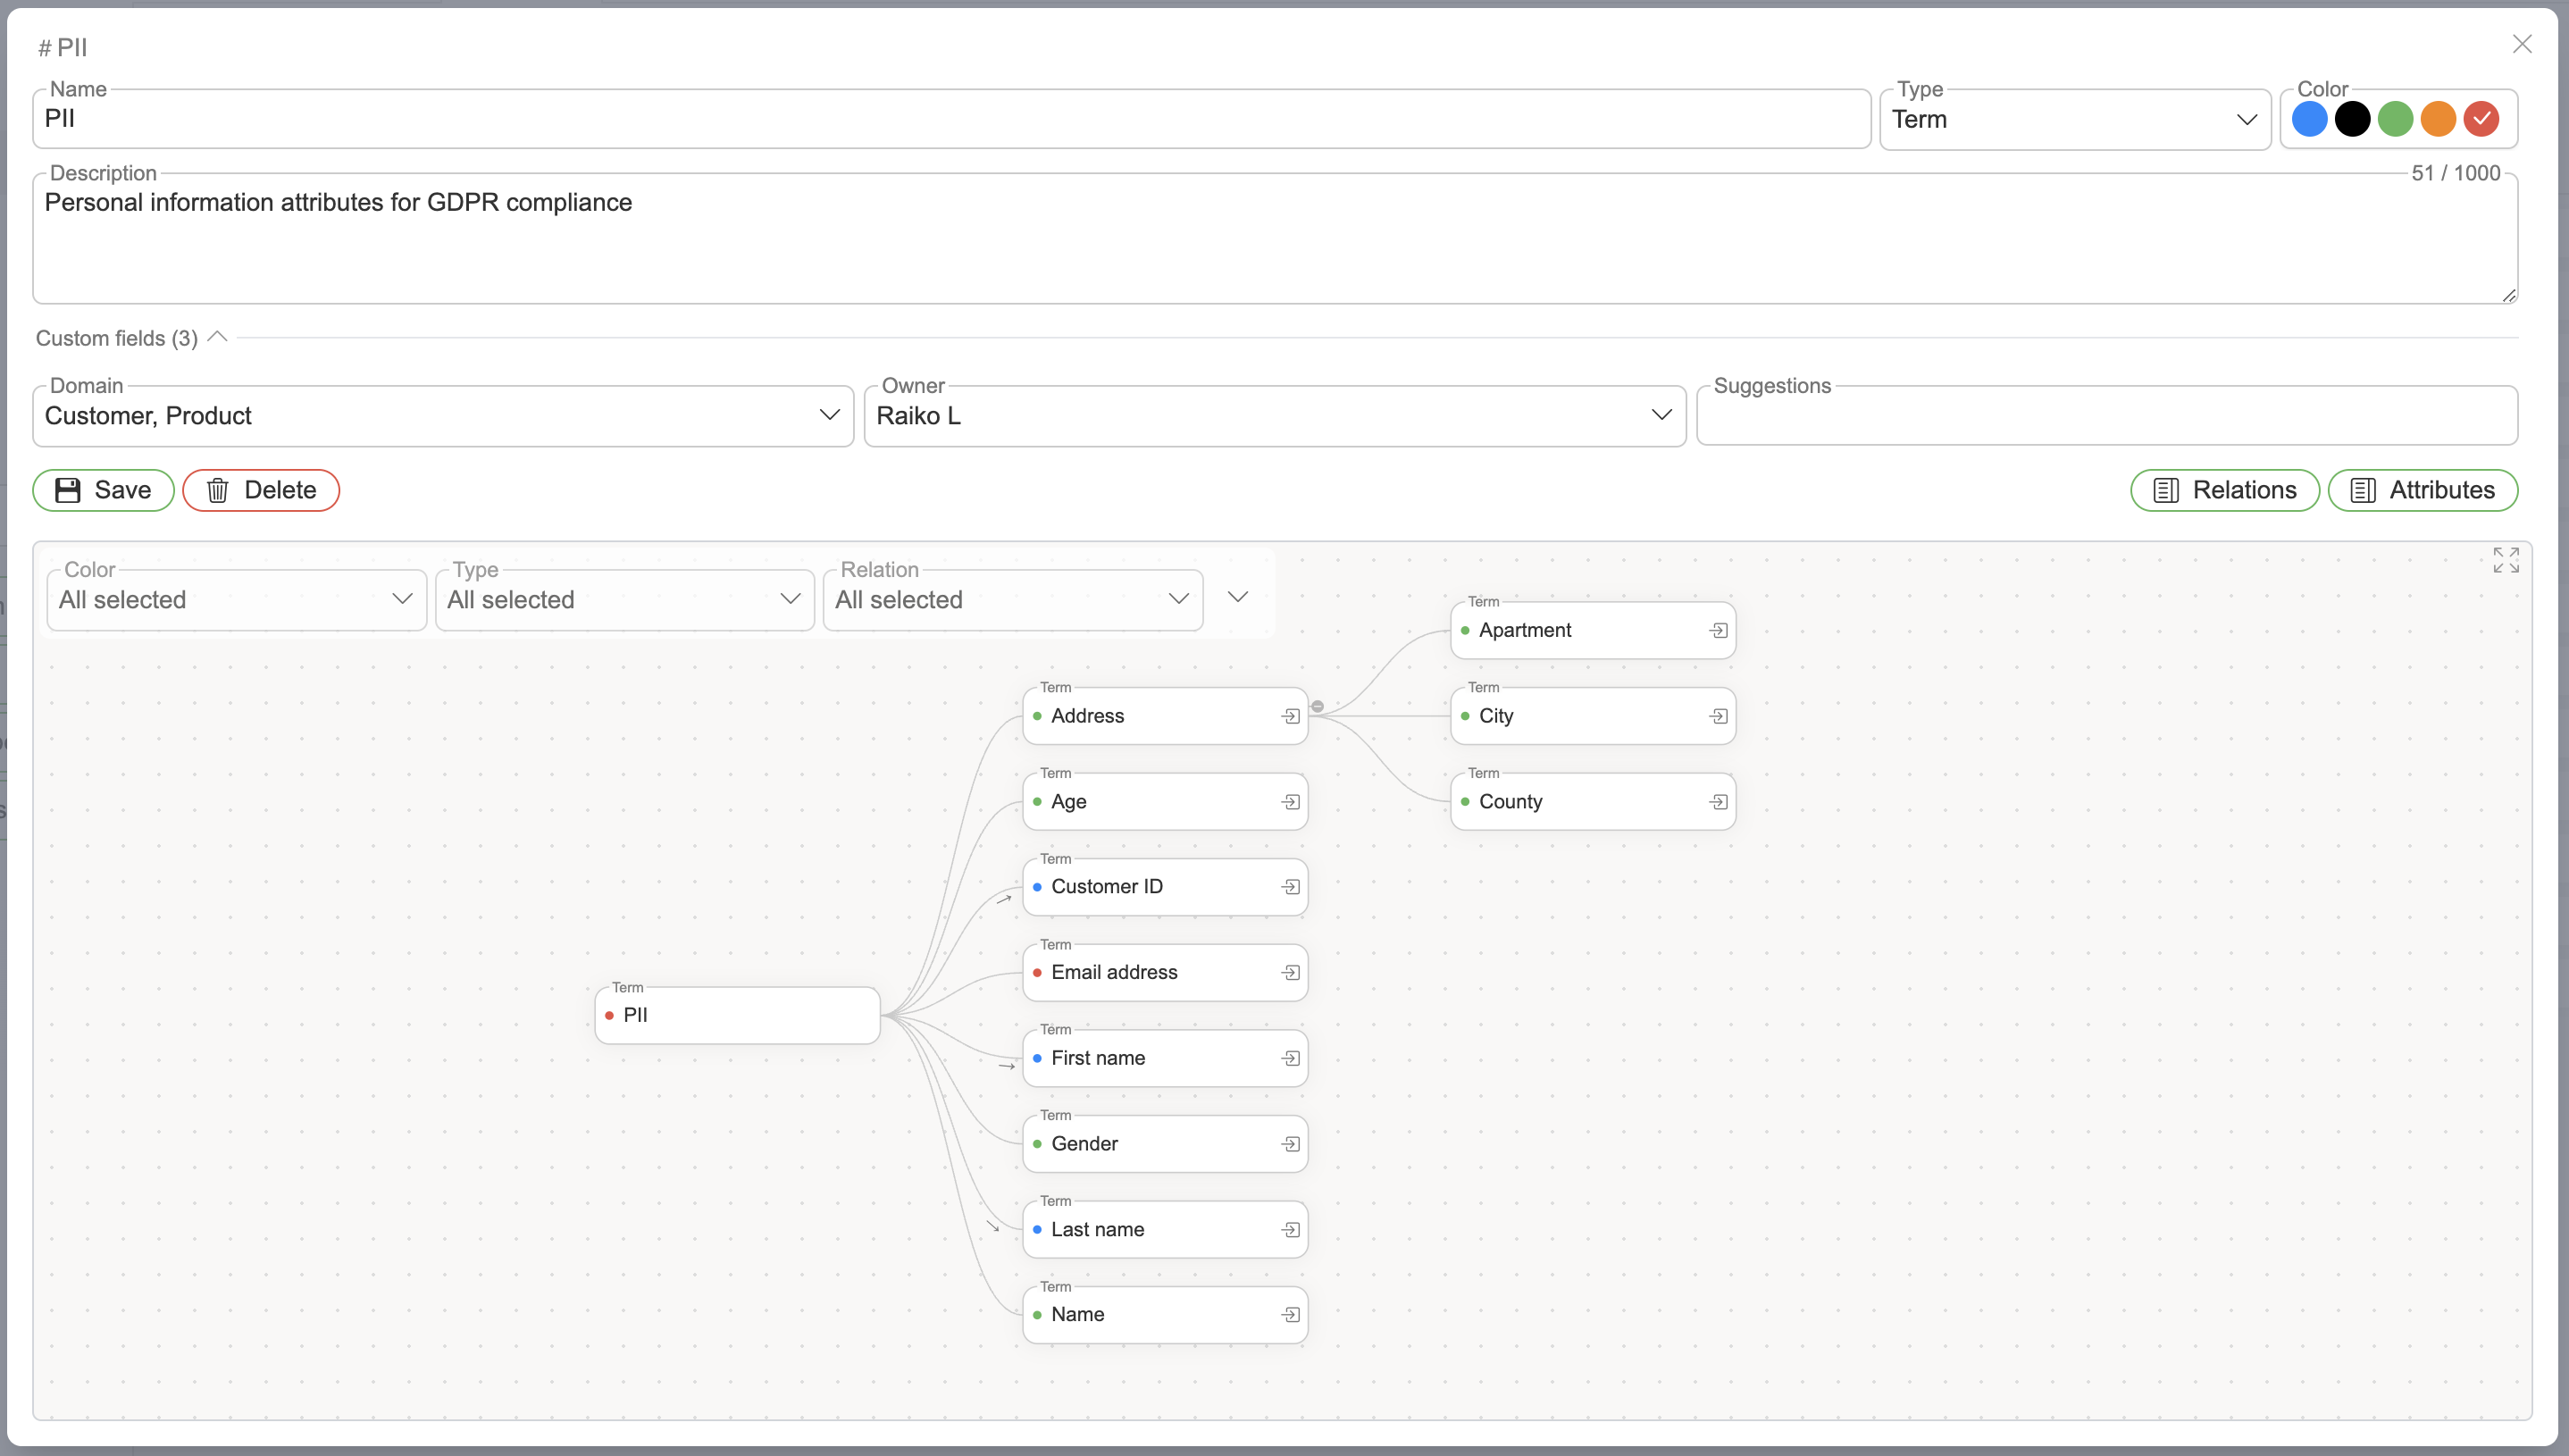
Clicking on a row in the Terms list will open its detailed view. The editable form (name, color, glossary, type, description, and custom fields) sits in the sidebar, and the main area is organized into the Graph, Relations and Assets tabs.
From the view's header the user can copy a direct link to the term, browse the term's history via Audit history (the History segment) and configure alerting via Entity alerting (the Notifications segment). The term can also be deleted from the sidebar, optionally together with its relations. Deleting the relations does not remove @-mentions of the term from other descriptions; those remain as inactive references.
Edit Term's Relations
Term relations are accessed from the detailed view's "Relations" tab, which shows the relations editor next to the live graph.
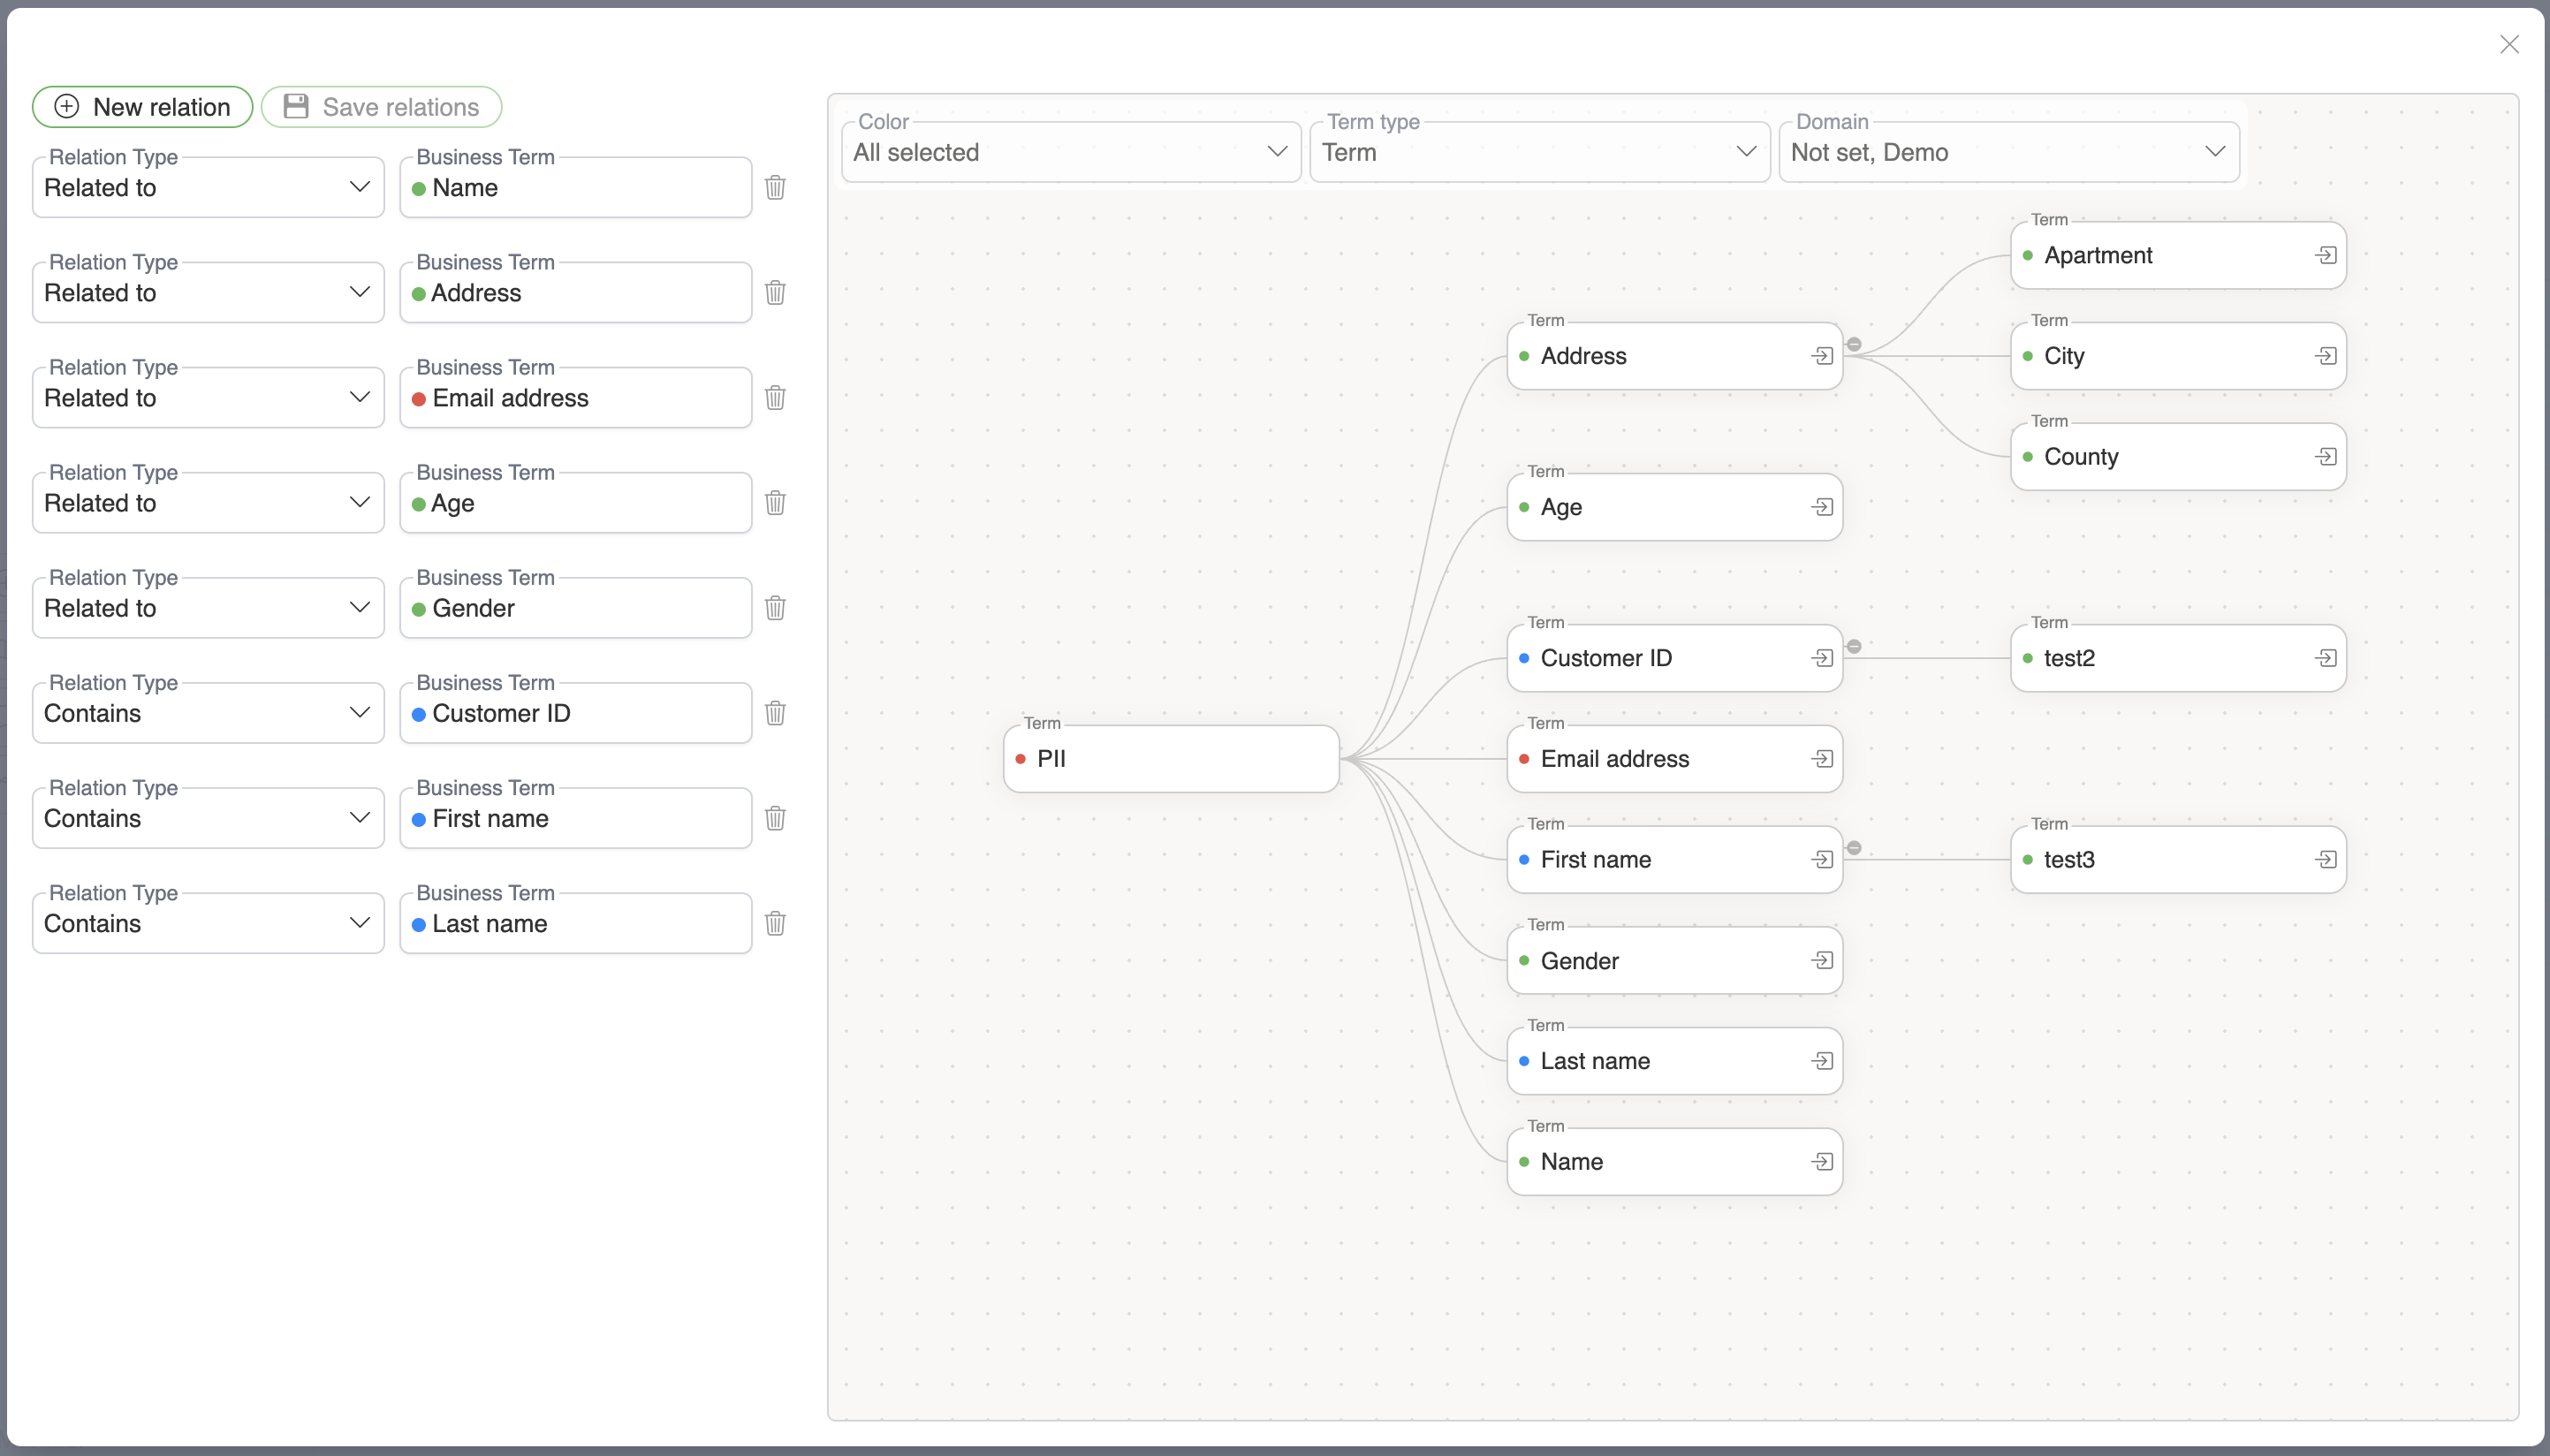
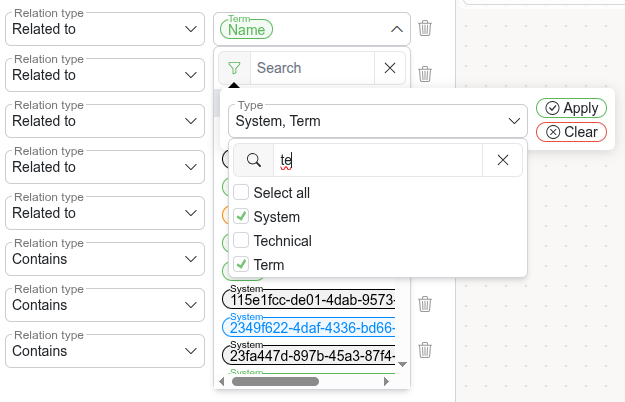
When selecting a term for a new relation, users can also filter the listed terms by type via the filter button left to the term selection's search field.
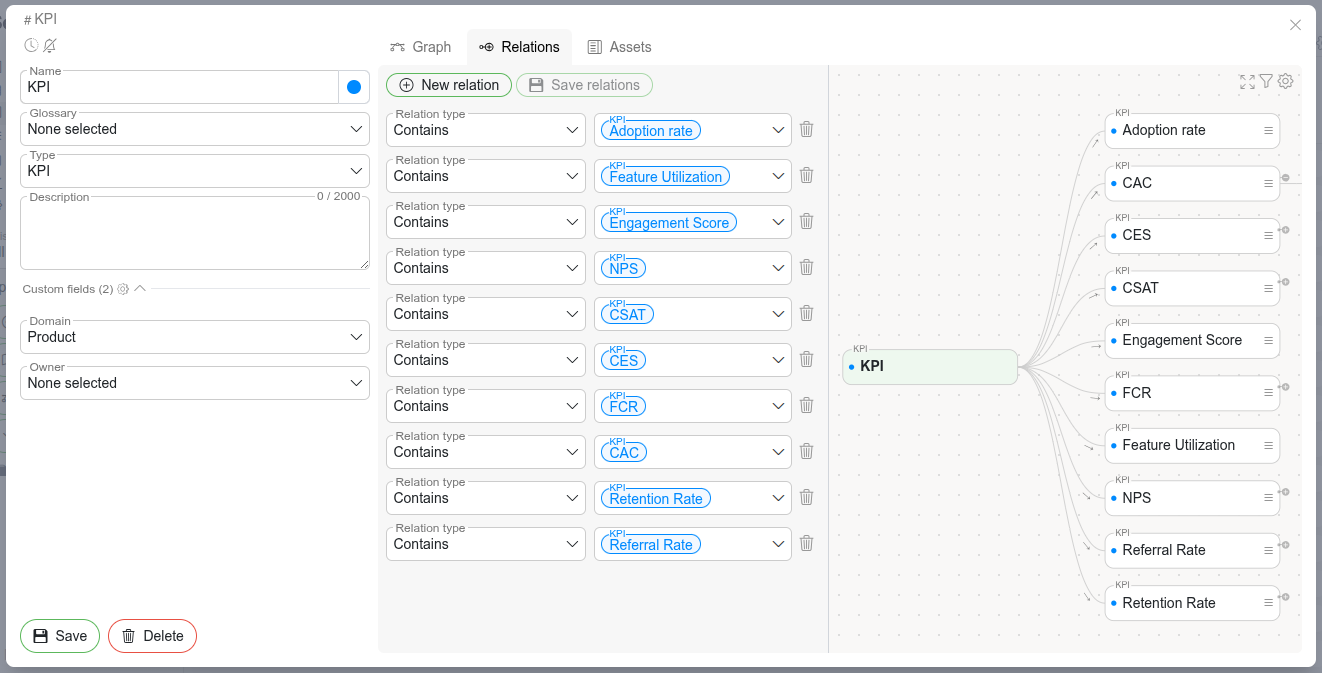
Organizing Terms with Parent-Child relations
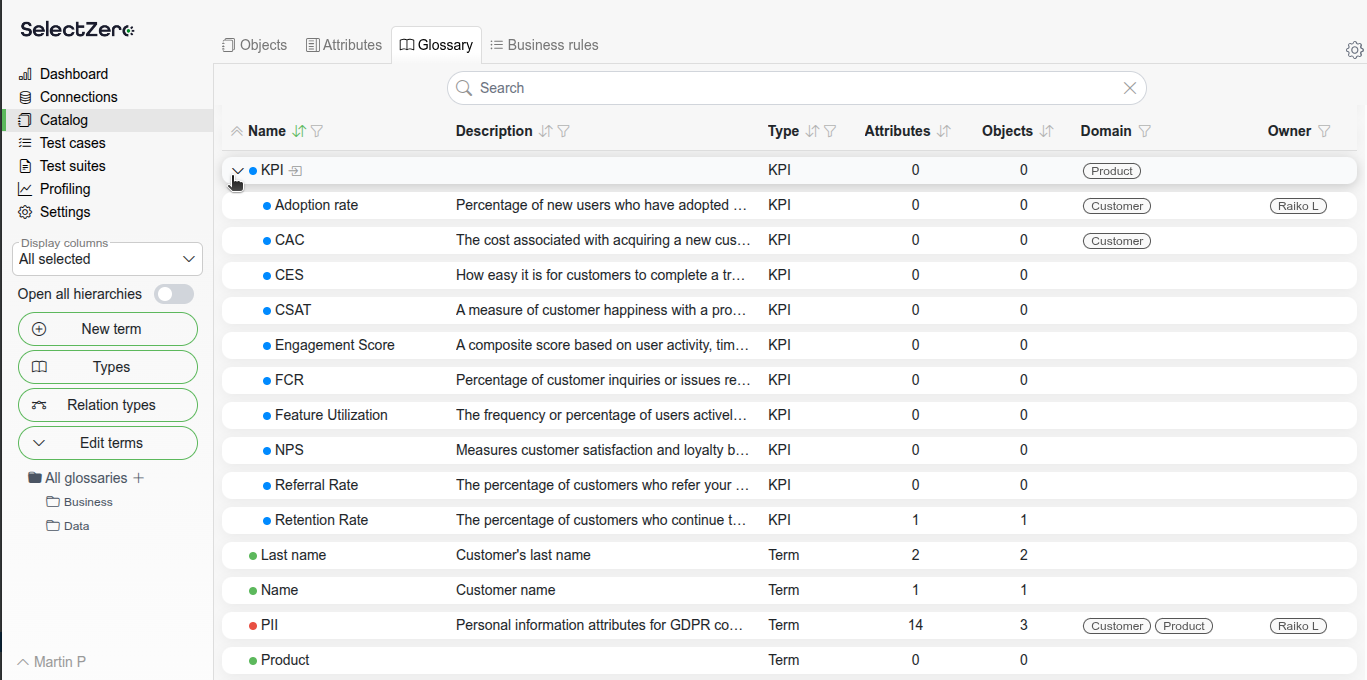
Terms which have Parent-Child relations are organized in the term list view as expandable "folders". The Parent-Child relations are expressed as the following Relation Types:
- Contains
Related Term will become a child Term of the opened Term.
- Contained in
Related Term will become a parent Term of the opened Term.
View Term's Relations in a graph
The "Graph" and "Relations" tabs contain a visualization of the related terms. The graph supports panning and zooming. Clicking on a node in the graph will highlight the path from the opened Term and show the Relation types. In the Tree layout, any node's child nodes can be collapsed or expanded with the +/- button to the right of a node.
The graph can be searched with the search box in the top left corner (minimum 3 characters) - it shows a match counter with previous/next buttons, and the house button re-centers on the root term. The filter and settings panels, together with the full screen toggle, are in the top right corner.
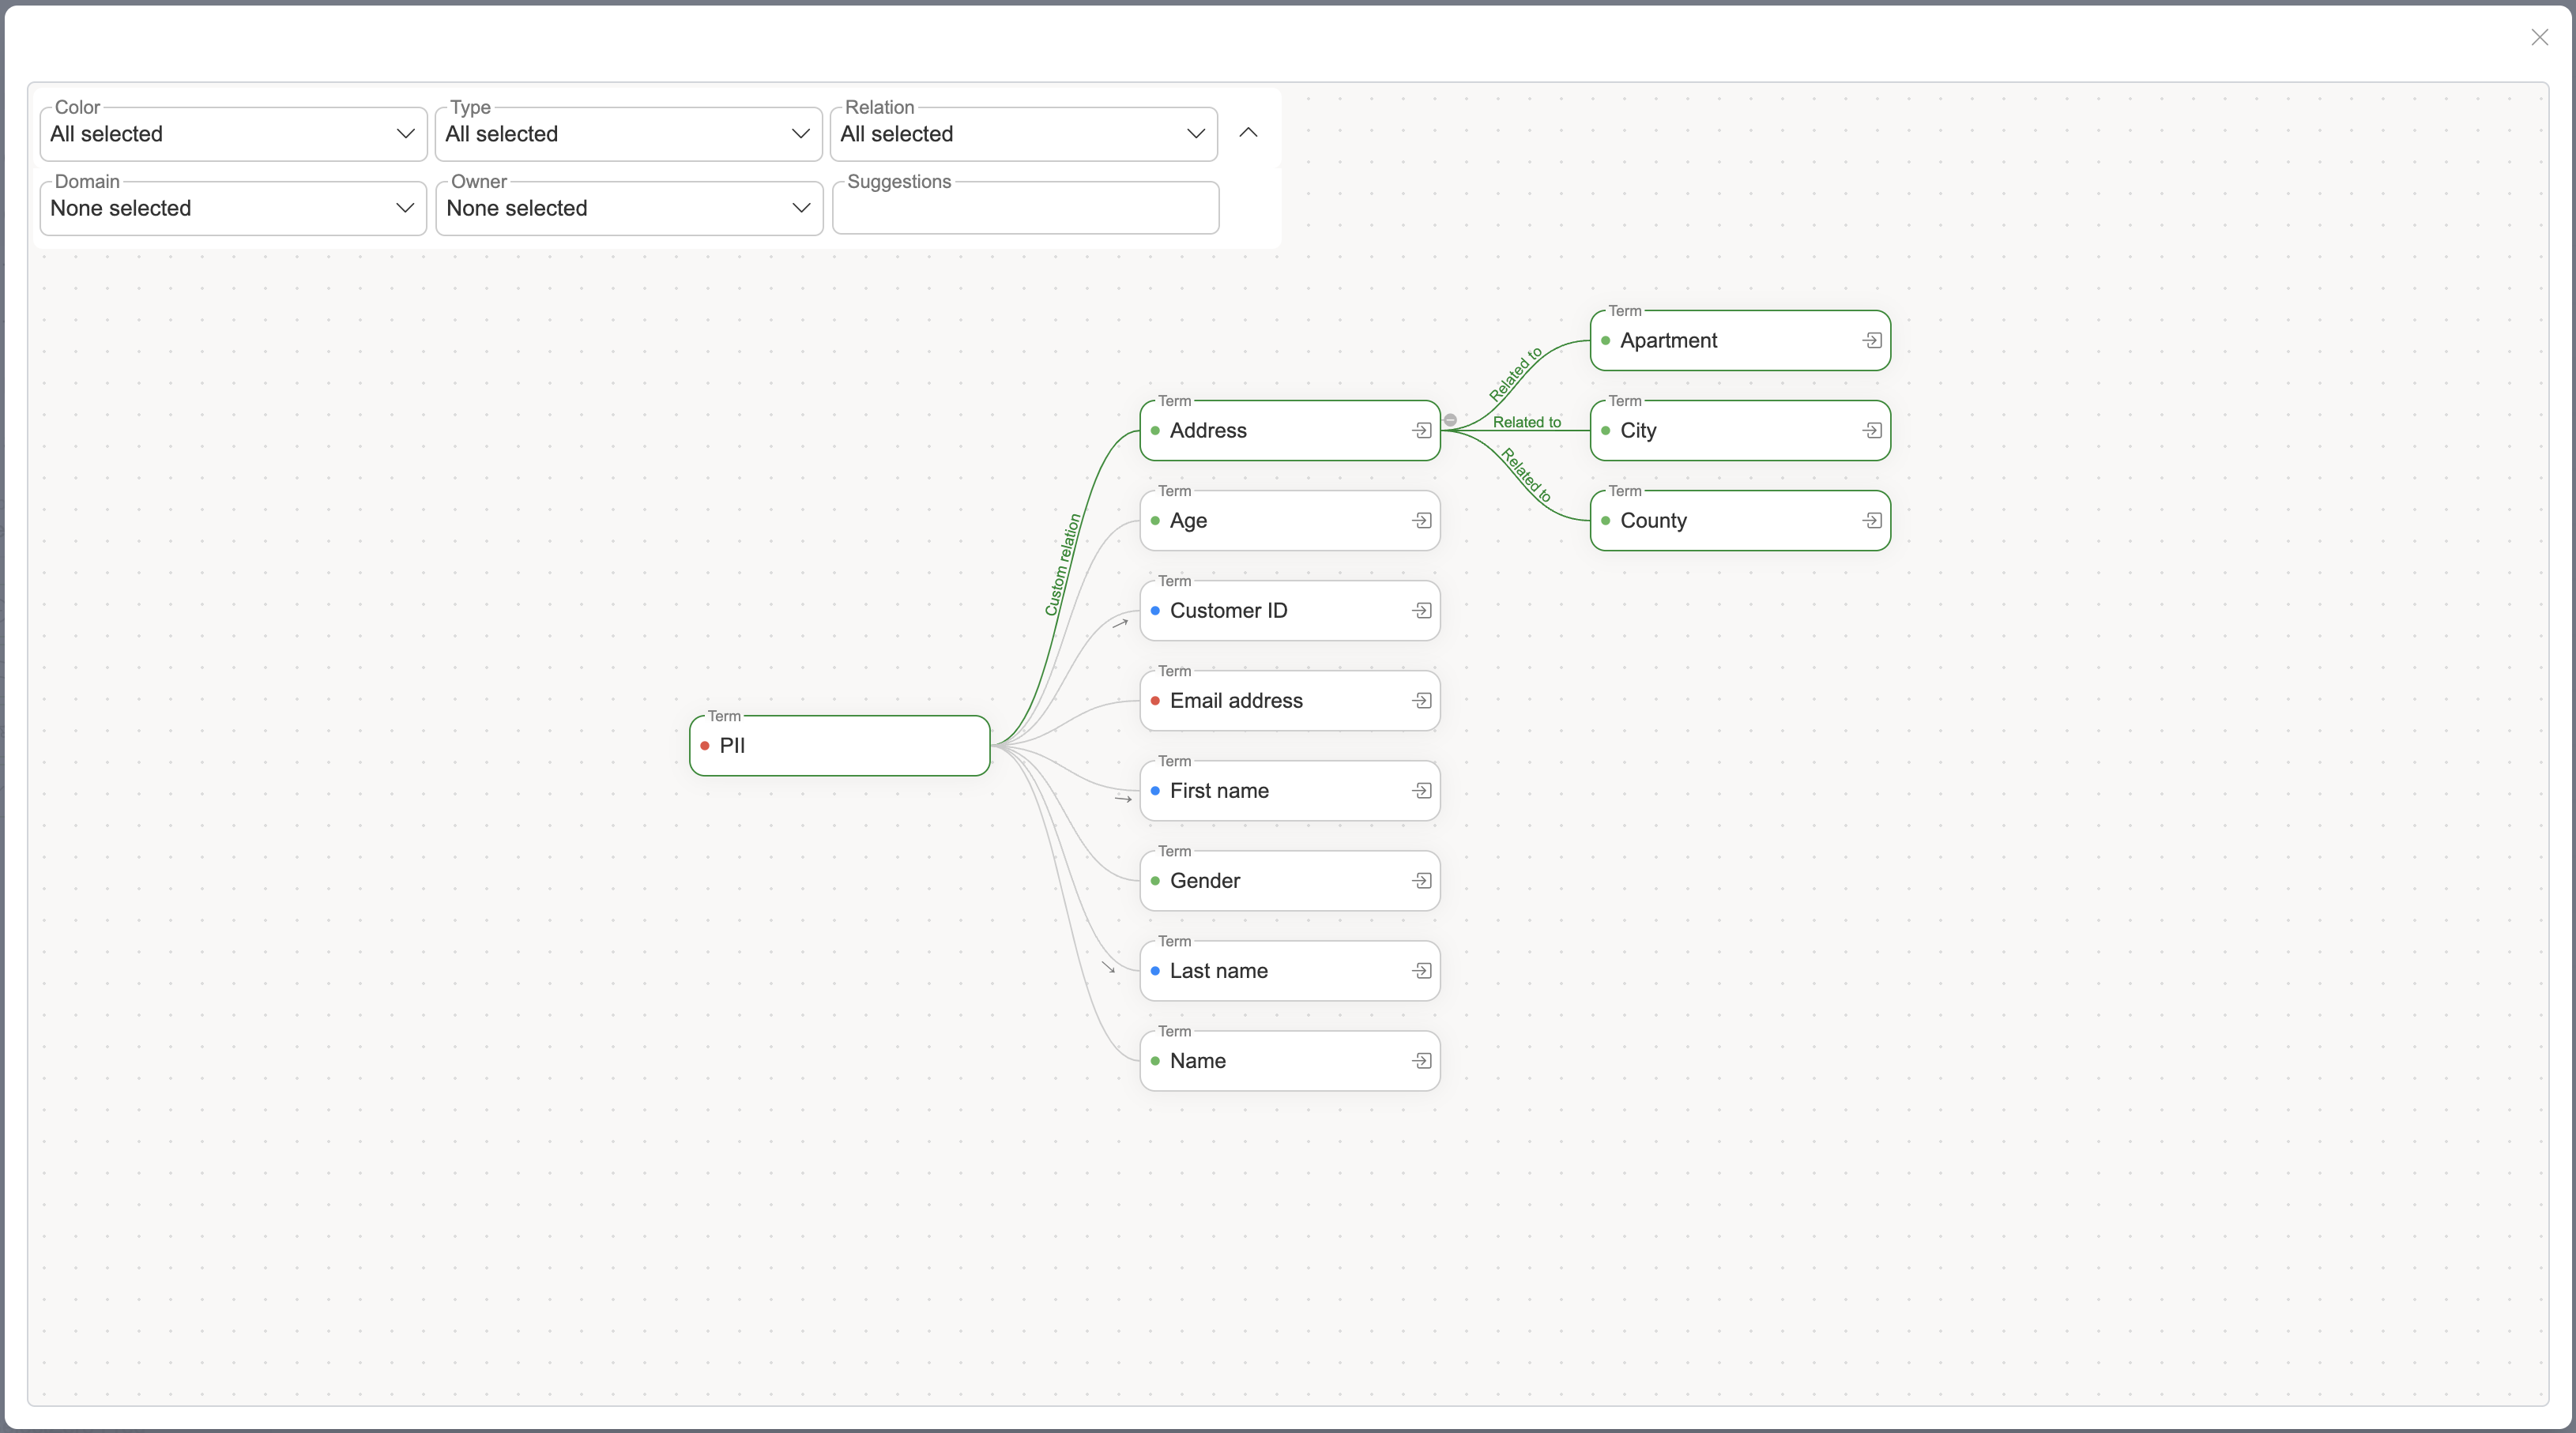
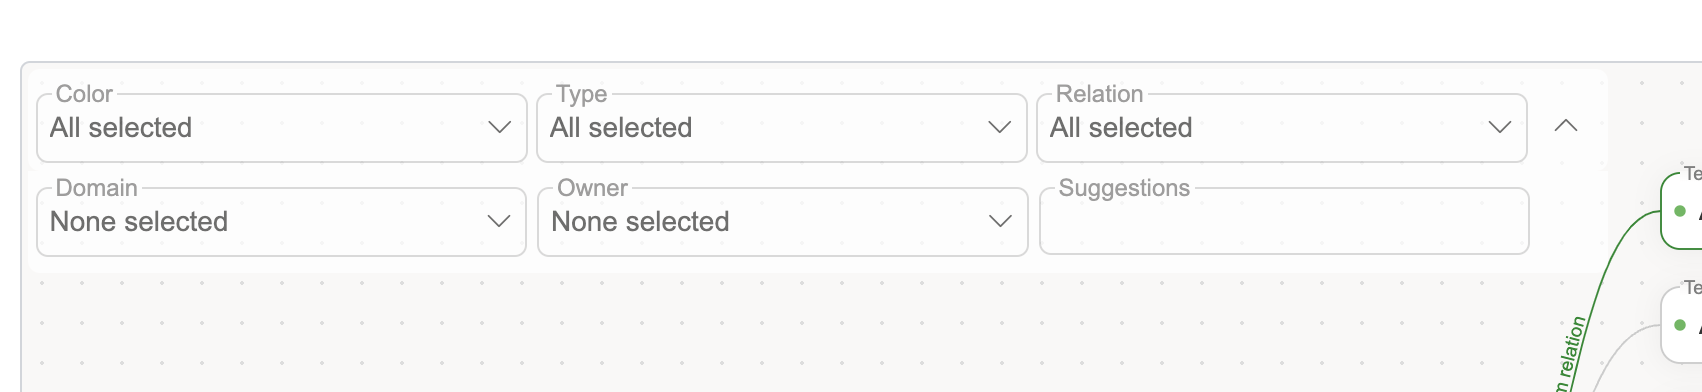
Graph filters can be expanded, displaying all available filters for the glossary graph: Color, Type, Relation and one per term custom field. The filter icon is colored green when filters are applied. Filters take effect with the Apply button; Reset all filters clears them.
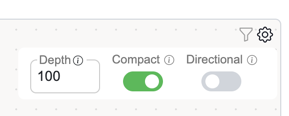
Graph settings, which are also applied with Apply and restored with Reset to default
Layout - Tree (the default; a term can appear on multiple branches) or Knowledge (a force-directed view where every term appears once; clicking a node highlights the shortest path to it)
Depth (Tree only) - Maximum level of graph nodes to display.
Compact (Tree only) - With this enabled, every term is only expanded once. Disabling this will expand all terms in all branches.
Directional (Tree only) - With this enabled, all term relations flow from left to right (instead of root term fixed on the left)
Colored nodes - toggle between fully colored nodes and white nodes with a color dot
If the graph is too large to render fully, a notice is shown and the truncated nodes are marked with a warning triangle.
Open another Term from the Relations graph
The list button in a node after the Term's name opens a small menu with Open term - opening that Term's detailed view - and View attributes. With edit privileges the menu also offers Delete relation.
Mentioning terms in descriptions
Glossary terms can be mentioned inline in description fields across the application: type @ followed by the term's name and pick it from the suggestions. The mention renders as the term's colored pill and links to the term. Mentions work in term descriptions, catalog object and attribute descriptions, business rule descriptions and a test case's Additional information field.
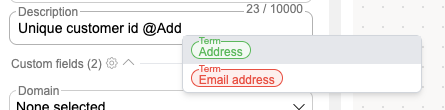
Every entity that mentions a term is listed on that term's Assets tab under Linked entities.
Assets related to a Term
The "Assets" tab of a Term contains two sections. Firstly, the section "Catalog attributes" contains a list of columns that have been labeled with the opened term. Secondly, the section "Linked entities" lists entities that use the opened term in any of their custom fields, business rules that reference the term, and entities whose description mentions it.
If the user cannot see every attribute the term is assigned to, the tab warns that some attributes are not visible due to missing access.
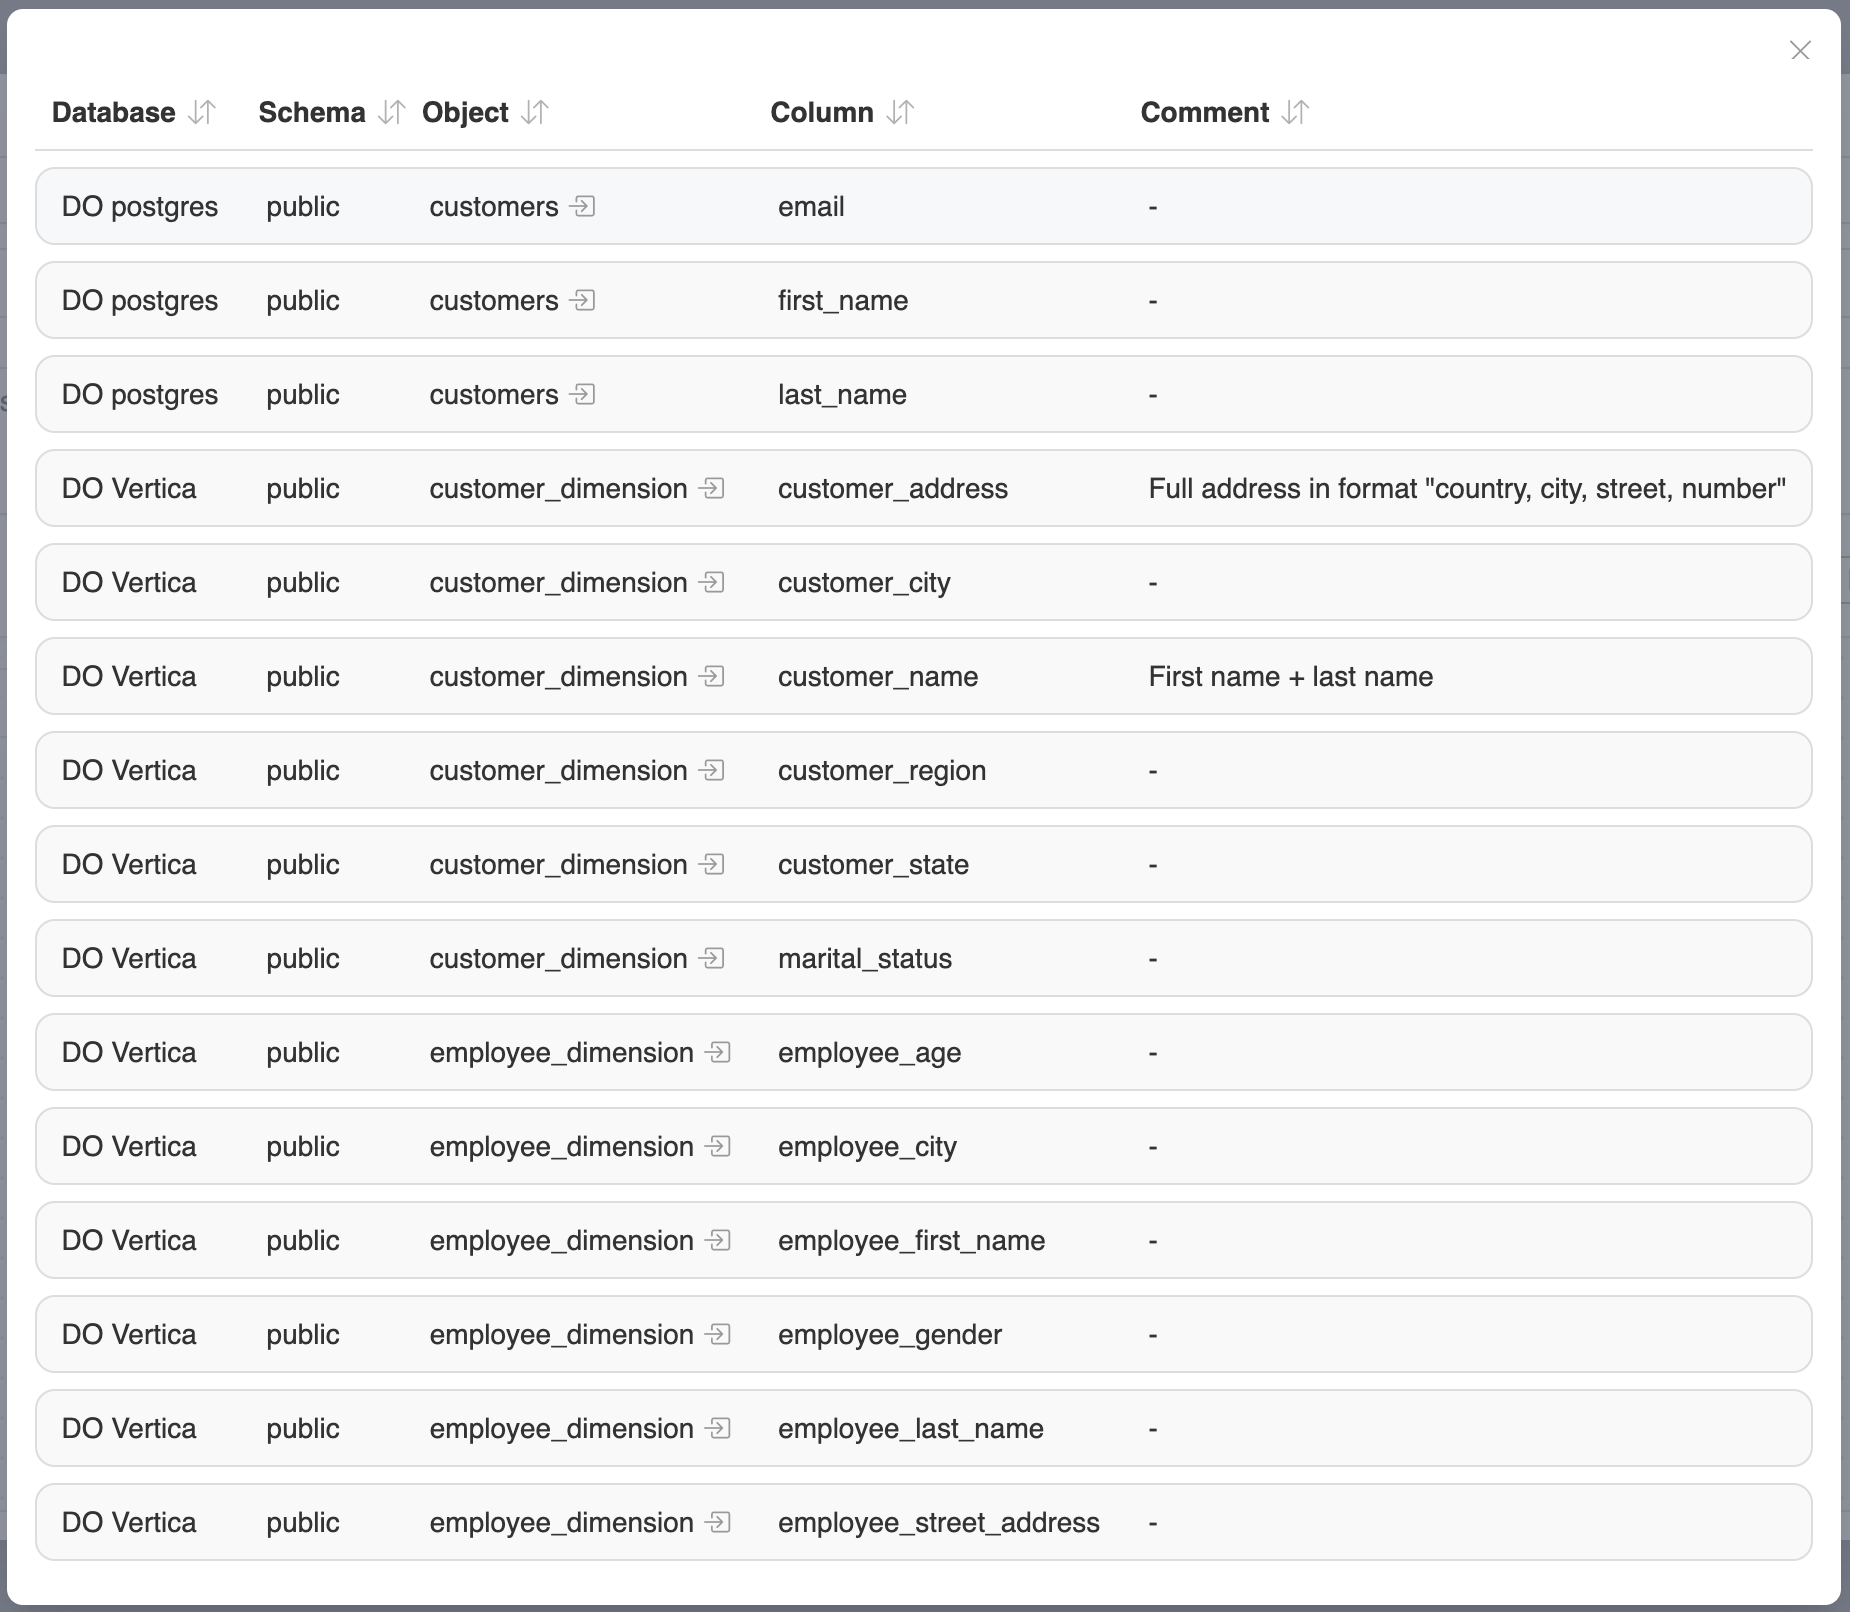
Editing glossary custom values
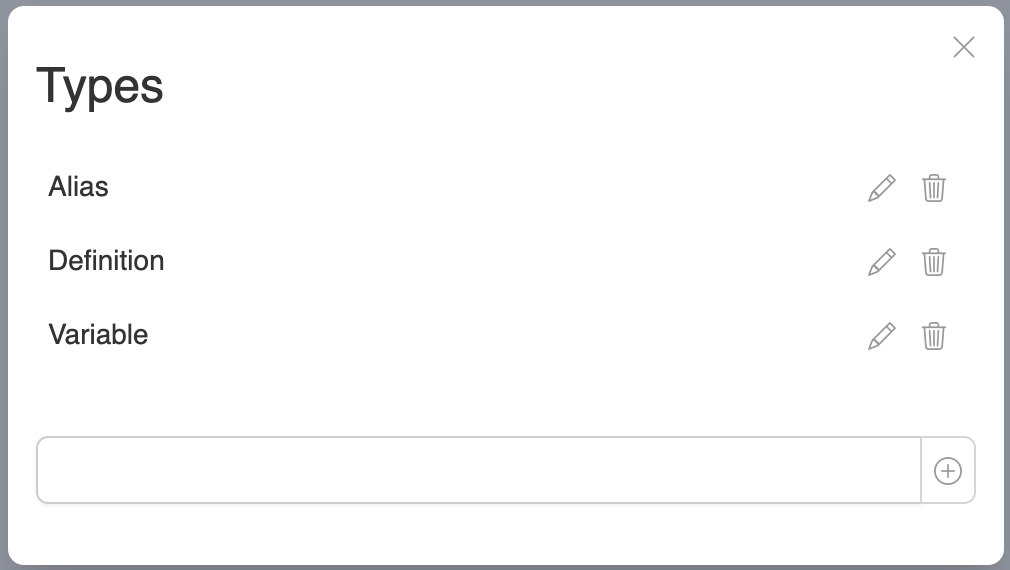
Through the "More" dropdown on the right of the toolbar, users can define custom Term types or Relation types, which can be used to group or filter terms. The same dropdown also holds the glossary Import and Export actions.
Term types - Default glossary type is 'Term', but users can define any custom type according to their need
Relation types - By default there are "Contains", "Related to" and "Synonym" relations. Users can define additional relations based on their needs. Deleting a relation type warns how many existing relations it affects.
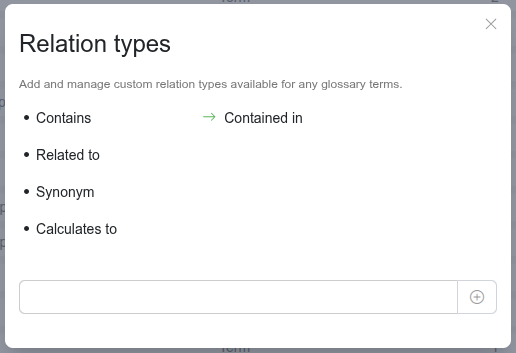
Directed relation types
The default relation type "Contains" is directed. When configuring relations, then depending on which side of the relation you have opened it will show in the relations list either "Contains" or "Contained in". And in the relations graph the connecting line contains an arrow indicator for the direction as well.
Users can create such directed relation types as well. After you have added a new relation type, start editing that relation type and click on the arrow-right button  to toggle between directed vs non-directed mode. In the directed mode, provide the inverse of the original relation type on the right.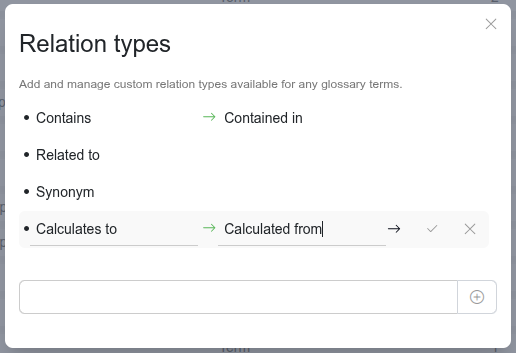
Mass actions
Click the  button to enable editing mode. This action will:
Display checkbox for each glossary term
Exit edit mode by pressing the Cancel button
Actions: 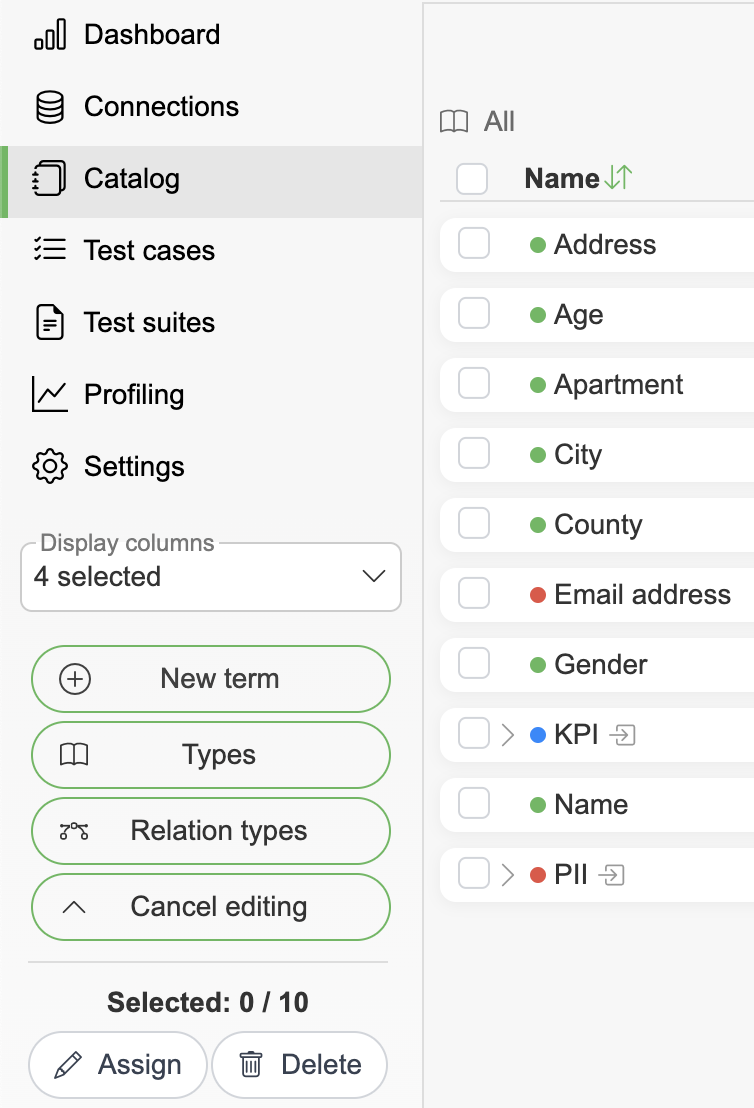
Use the checkboxes to select terms in the list. The header checkbox offers Select first level and Select all applied - the latter selects every term matching the current filters, at any depth.
Once selected, the following actions are available:
Assign: Allows assigning a new Type, Glossary or Custom field to the selected terms.
Delete: Permanently removes the selected terms from glossary, optionally together with their relations. Terms that still have active relations are skipped, and the result reports how many were deleted and how many were not.
Exploring Terms' folder structure
Terms that contain other Terms via the "Contains" Relation show two extra buttons in the Terms list view. The button to the left of the Term's name expands that folder's contents without navigating into the folder. The button on the right will navigate into the folder.

The current active directory is visible above the Term list, starting with the All button that returns to the root. Clicking on parts of the directory will navigate into that directory. Long paths are truncated to the last segments.
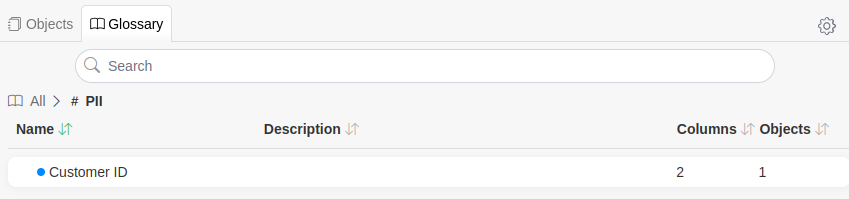
Expanding folder structure
Open all hierarchies in the table settings dropdown will expand all folders and keep them expanded even on page scroll. Collapsing a folder manually will turn off expanded state. 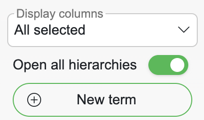
Clicking the double arrow up in the Name column header (visible when folders are open) will close all open folders. 
On deeply nested glossaries the list can hit a depth limit, in which case it asks to narrow the view with filters, turn off Open all hierarchies, or collapse some terms.
Searching for Terms
The search in the top of Business Glossary finds Terms by the name, description and custom field values. Search structure will display all found terms as root nodes and provides additional highlighting.
Descriptions are searched as rendered text rather than raw markup, so a term that is @-mentioned in another term's description is found by the name the mention currently displays.

Separate glossaries
Glossaries can be created to group specific business terms. Glossaries allow duplicate term names to exist across different categories, which is useful when the same term has different meanings in different business contexts. The glossary dropdown in the toolbar filters the term list to the selected glossary ("All glossaries" shows everything). The folder button next to it opens the Glossaries modal, where glossaries can be created with the New glossary button, edited and deleted.
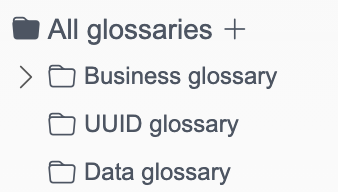
Glossaries also support configuring custom fields.